
Guide: How to create a Job Listing
-
Login or Register as an Employer:
- On the top right bar, click Register to create an account as an employer.
- If you already have an account, click Login from the same place.
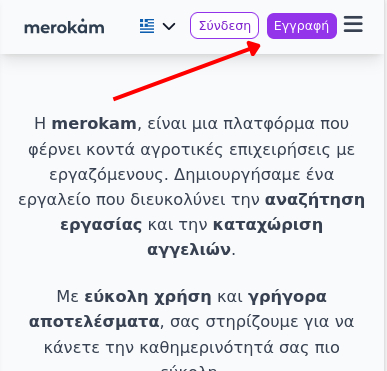 Example: Where the Register and Login buttons are located on the bar
 -
Start Creating a Listing:
- Once logged in, click the button Create Listing to start.
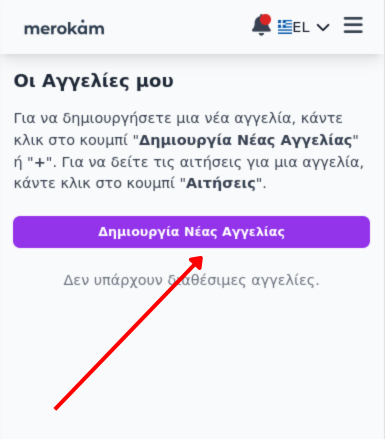 Example: Create Listing Button
 -
Filling out the Form:
- Listing Title: Write a title, e.g. 'Looking for workers for olive harvesting'.
- Description: Say in simple words what work needs to be done.
-
Area:
Start typing the area and **definitely** select one of the suggestions that appear automatically (autocomplete). If you don't select from the list, it won't be registered correctly.
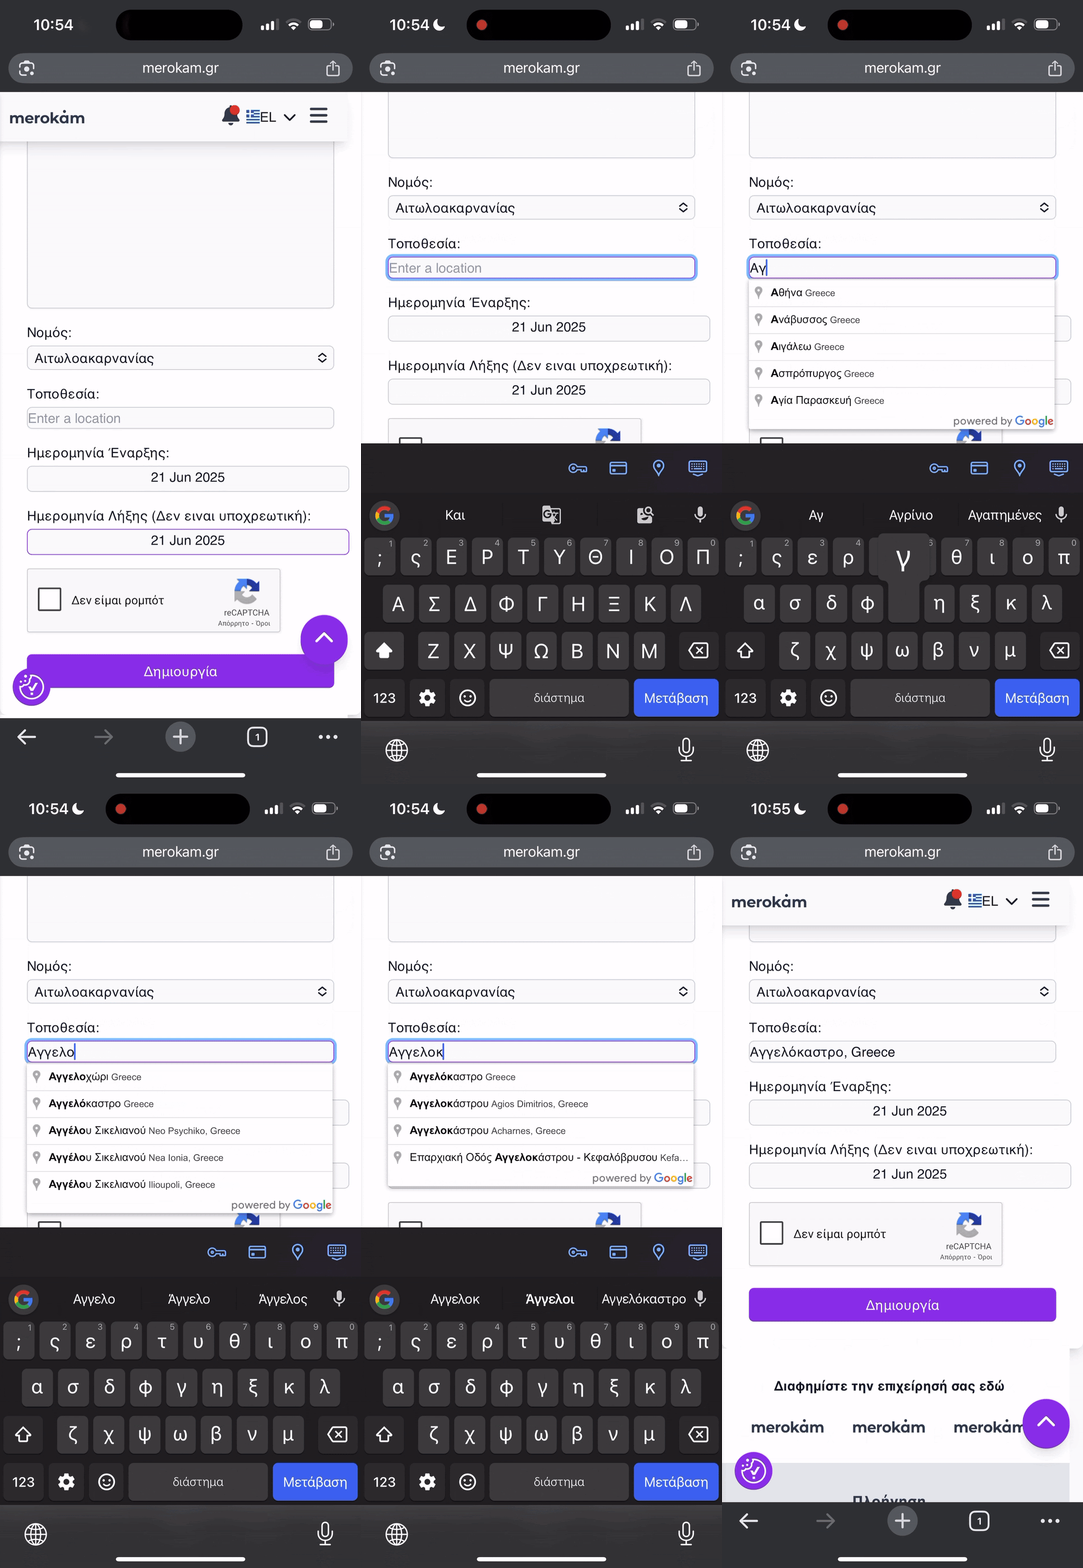 Example: Selecting location with autocomplete
 - Dates: If you know, put when the work starts and when it ends. If you are not sure about the end, you can leave the end field empty.
- Submit: Click Create. Your listing will appear publicly and will be seen by workers looking for work.
- Manage Listings: You can view, change or delete your listings from the menu My Listings.
Tip:
Write clearly what you are asking for, where and when. This way workers will find you more easily.