

Guide: How to declare Availability as a Worker
-
Login or Registration:
- If you don't have an account, click Register and fill in your details.
- If you already have an account, click Login.
 Example: Where the Register and Login buttons are located on the bar
 -
Go to Declare Availability:
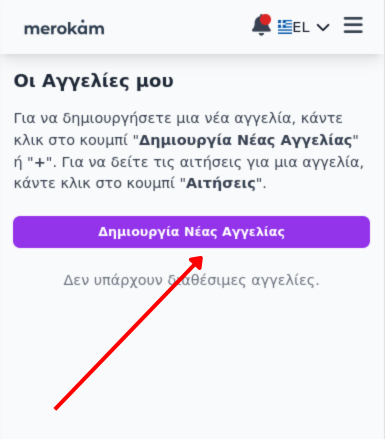
- After logging in, go to your worker profile home page.
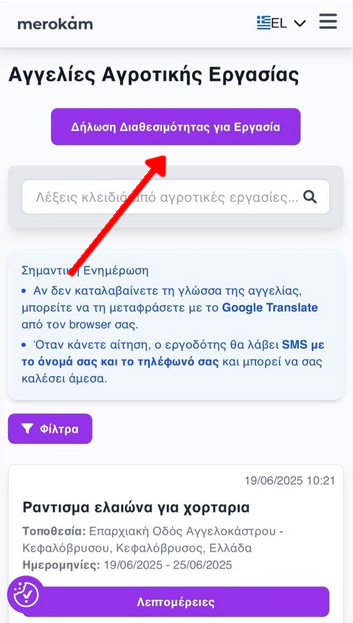
- There you will find the button Declare Availability top right.
- Alternatively, from the navigation menu you can click My Availabilities. There you will also find the button Create new availability.
 Worker profile home
 Declare Availability Button
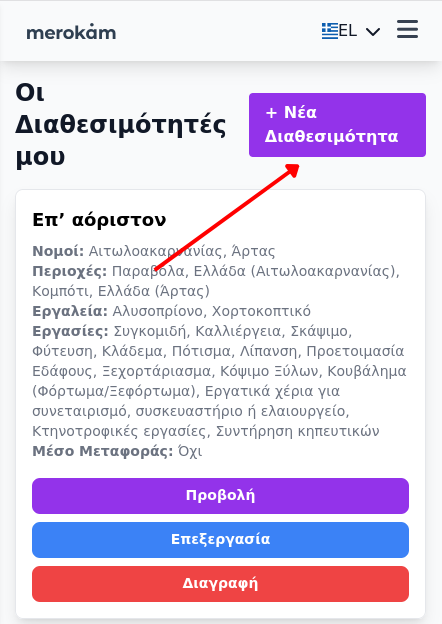 Menu My Availabilities & Create new availability
 -
Filling out the Availability Form:
- Prefectures you can serve: Select one or more prefectures where you can work.
-
Specific Areas (optional):
If you work only in specific areas, click Add Area and select one of the suggestions that appear automatically.
This field works only with autocomplete (Google Maps Autocomplete) — you cannot type freely. Example: Selecting area with autocomplete
 - Availability: Declare if you are available all year round or for specific dates.
- Tools & Jobs: Select the tools you have and the jobs you can do.
- Means of transport: Declare if you have your own means of transport.
- Description (optional): Write a few words about your experience or anything else you want employers to know.
- Submit: Click Save Availability. If everything is correct, your availability will appear to employers looking for workers in your area.
- Manage Availabilities: You can view, edit or delete your availabilities from the menu My Availabilities.
Tip:
Declare as many areas and jobs as you can to increase the chances of employers finding you. If your availability changes, update it immediately.
Watch the video on how to create our availability from scratch.